In your library, you will find everything created in your account: Videos, images, playlists, players, audio, subtitles, podcasts and channels. This article will focus on how to manage video – the most commonly used part of Streamio.
Further down, you’ll find an overview of the other parts.
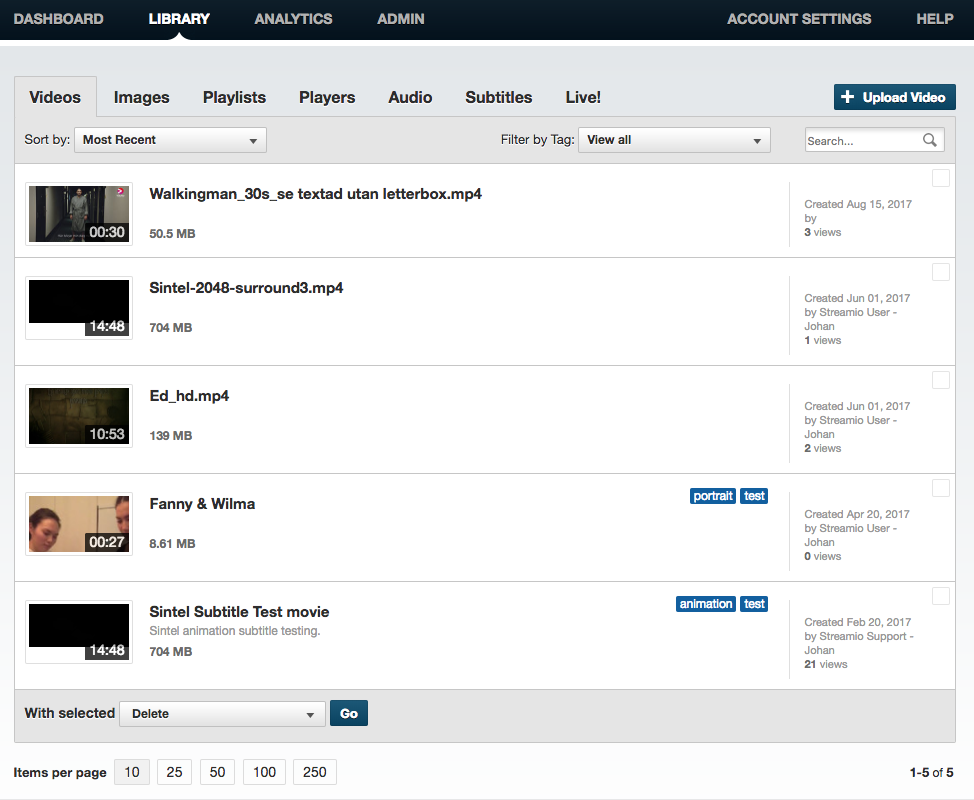
The tab “Videos” contains all videos uploaded to your account. After the upload, you can manage the videos here!
By choosing Videos, you will be presented with an overview of the movies in the account. Further down the page, you can select how many will be shown simultaneously. Note that showing many videos simultaneously makes Streamio slower than only a few videos, especially on slow connections!
In the top section, you’ll find a drop-down menu to sort the content by most recent, Oldest, Alphabetical, Most Viewed, Largest, or Smallest, or by the user who uploaded the video. These are self-explanatory but quite useful as the account fills up with videos!
To the right of the sorting, you can filter by tag. If you tag all uploaded videos, you can use this function in several ways; this is one. Examples of video categories used: “Ad”, “Corporate presentation”, “Shareholders meeting”, ” City Council meeting”, and so on. You could quickly get a list of just the movies needed (you can also use tags to populate the playlist automatically!)
You’ll see a thumbnail picture from the video in the actual list of videos. Title and description of the video. The length of the video (superimposed on the thumbnail) and size (total usage on disk for all created versions). You can also see the tags the film has been given (as blue buttons that you could click to show all videos in that category quickly). Finally, you can see the video’s creator and the number of views.
A grey checkbox is in the right corner of every video in the Library overview. When clicked, the box will be greyed, and the video will be chosen. This could be used to delete several videos or copy videos to another account quickly. The most common usage is when a company or organization has one internal account with security to limit viewers to the organization and one Streamio account for public videos for the web page, social media, and mail.
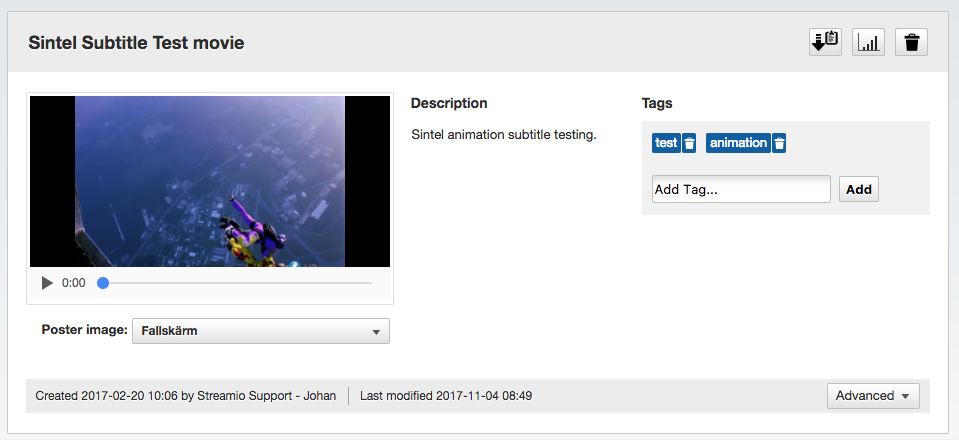
When a video is selected in the library, the actual video page is opened. We will focus on the upper half of this page in this article. The lower is about publishing the video described in another article. Also, this is the “Quickstart”. We will not cover the “Advanced settings” here.
These are the remaining tabs under the library – just a quick overview.
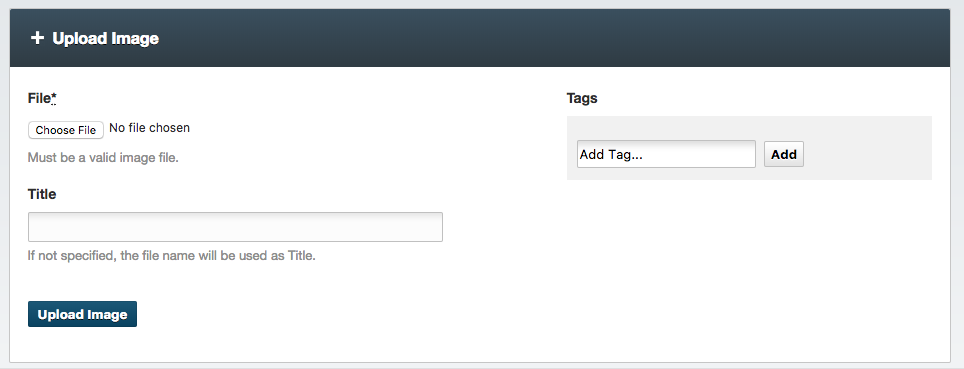
Images
Here, you will find all the images you have uploaded, which are available for publication or use as starting images for videos.
Playlists
Here are all the playlists you can publish in your video archives. Playlists allow an Archive Player to contain many selected films instead of just one, as the regular player shows.
Players
Here, you can find all the players you have created, as well as single players and video archives. You can customize your video player in several ways!
Subtitles
All the texts are collected here if you have that function turned on. Texts are uploaded, managed here, and linked to films under “advanced” on each film. Here, you can read more about subtitles and other things we offer for accessible video online.
Audio
Here, you will find all the sounds you have uploaded and that are available for publication.
Podcasts
Here, you will find all the podcasts you have created.
Channels
Here, you have the option to create channels. Read more about how channels work here.
Read the other support articles here for more tips on managing your content in Streamio.
If you need more help, you can always contact the excellent support team through our contact page.