This is a short step-by-step guide on how to set up a webinar using Streamio Events and Channels and integration with Fienta for ticketing.
Start by deciding on your topic, format, and date. Once that’s clear, go to your Streamio account and create a new Event.
In the event settings:
If you’re new to Events, you can use this support article to create Events in Streamio.
Streamio lets you upload different images for key states in the event player:
Note that all these texts can be updated as needed.
Use your own colors, logos, and tone of voice so the whole experience feels like part of your brand.
Next, check the settings (under the appearance tab) on the Streamio channel where the event will be published.
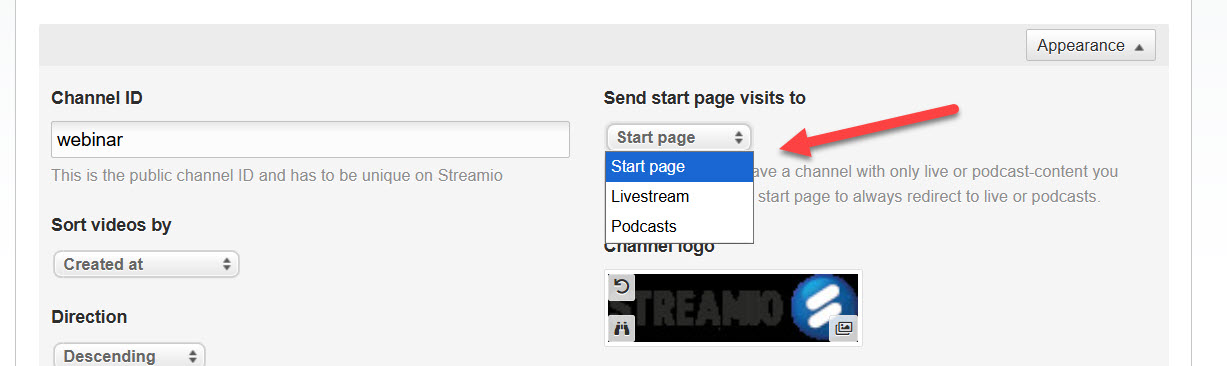
A common setup is:
This helps people find the live broadcast when it’s happening and the recording afterward without having to send separate links.
To manage registrations, create an event in Fienta and link to the page where the webinar will be streamed.
In Fienta you can:
For most webinars, it works well to send:
If you use a CRM, Fienta can send webhooks to your CRM or to no-code platforms such as Zapier, Make, or N8N. This way, new registrations and who is participating can be sent to, for example, your CRM. Please note that CRMs, Fienta, Zapier, Make, and N8N are external tools not covered by Streamio support.
For many webinars, Streamio Studio is the simplest choice. It runs in the browser, can share your screen and webcam, and connects directly to your Streamio channel without extra software.
If you prefer other encoders or production tools, you can also stream to Streamio using virtually any platform. We support RTMP/RTMPs and SRT. You can find all the settings you need under the “Streaming settings” tab in the Live section.
You can find a getting-started guide for Streamio Studio here.
If you want interaction during the webinar, enable Streamio Chat on the event or channel.
A simple and effective setup is:
The Streamio Chat guide has more details on how to enable and configure it.
At least once before the real webinar, do a dry run:
Important: If you are using Streamio events, livestreams are only shown in the live-tab and chat-tab of the Streamio interface, as long as the test time doesn’t match any event (+ lead time). This means that you are good to test as much as you like before the event.
Tip: If you need training, you can record it to your local computer from Streamio Studio so that you can keep it to yourself!
If you use Fienta and a CRM integration, you can also do a small internal test registration to make sure contacts end up where they should.
On the day itself:
This structure keeps the presenter focused on content while someone else handles interaction.
When the webinar ends, Streamio automatically saves the recording in your channel.
Afterwards, you can:
Once that’s done, the recording is ready to be shared or embedded.
Tips:
Regardless of whether you are using Streamio Studio or another tool, it is best practice always to record locally anything you livestream. The servers can only record what they receive; problems on the internet could affect or even destroy a recording.
Set up recording in the livestream (check that Auto record is set to on, that the Title is what you want, and the Tags for the recording match those of the channels or playlists that should display the video.
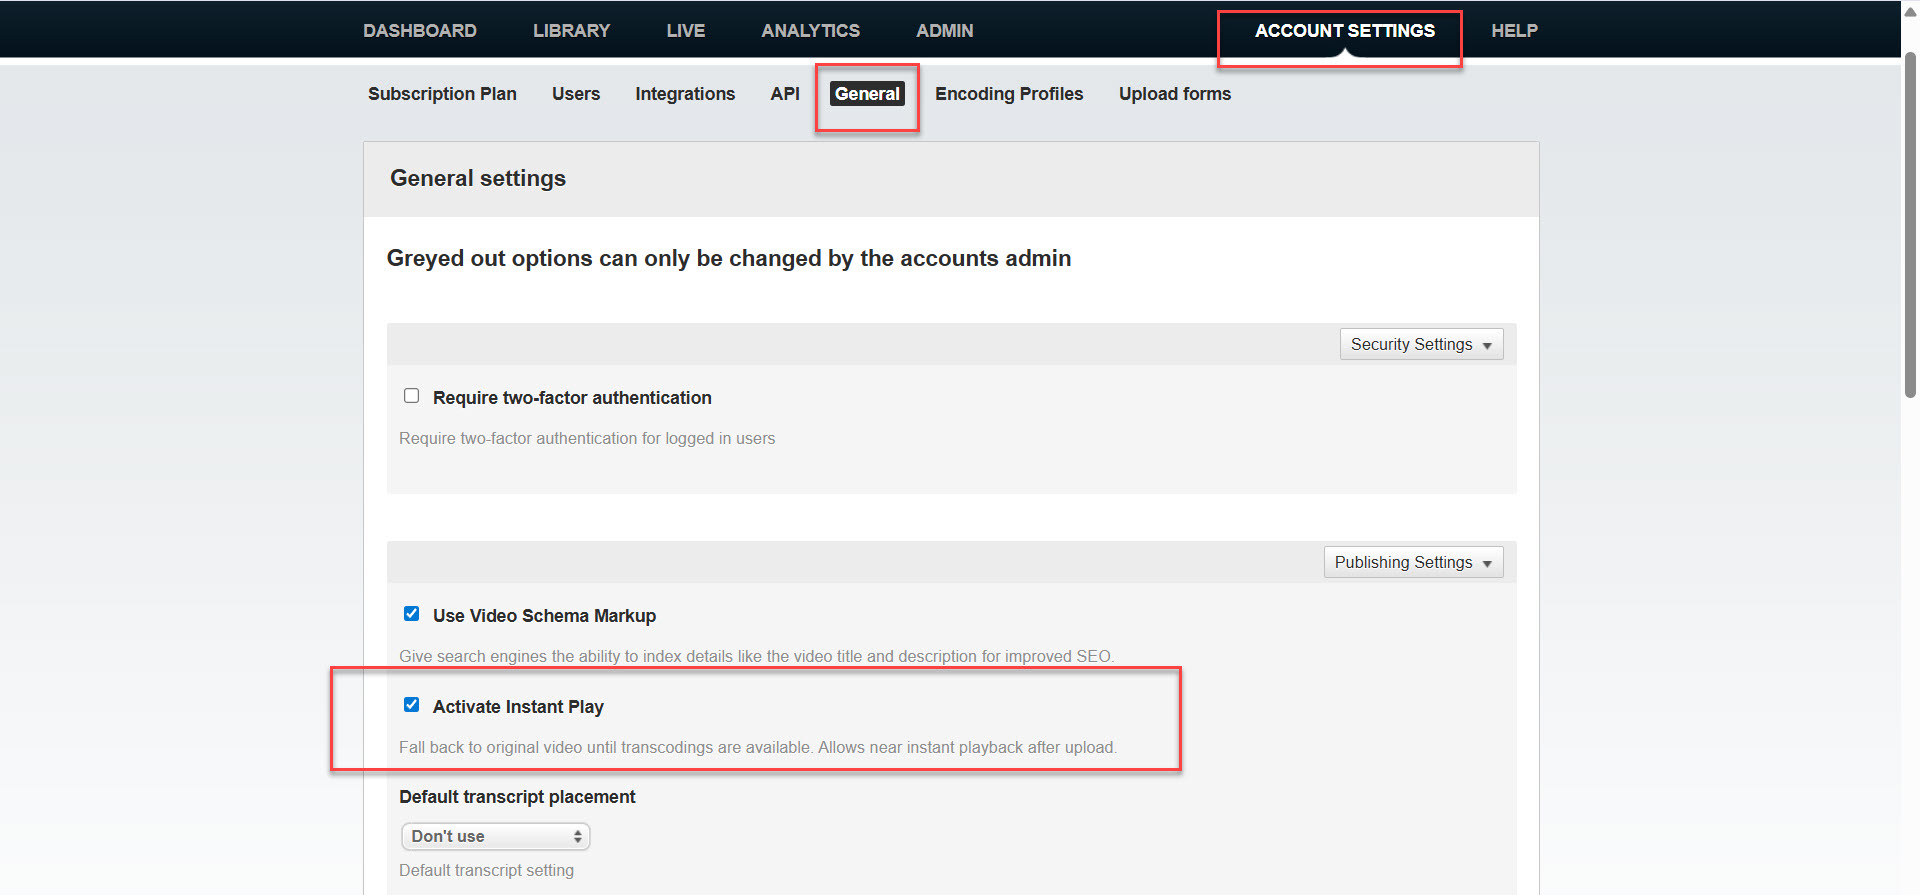
You can turn on Instant play to make the recording instantly available after the event.
From your CRM or email tool, send a follow-up email to everyone who registered, including:
You can also use Streamio’s pay-per-view and ticketing integration with Fienta if you want to control access to on‑demand recordings.